Available Machines
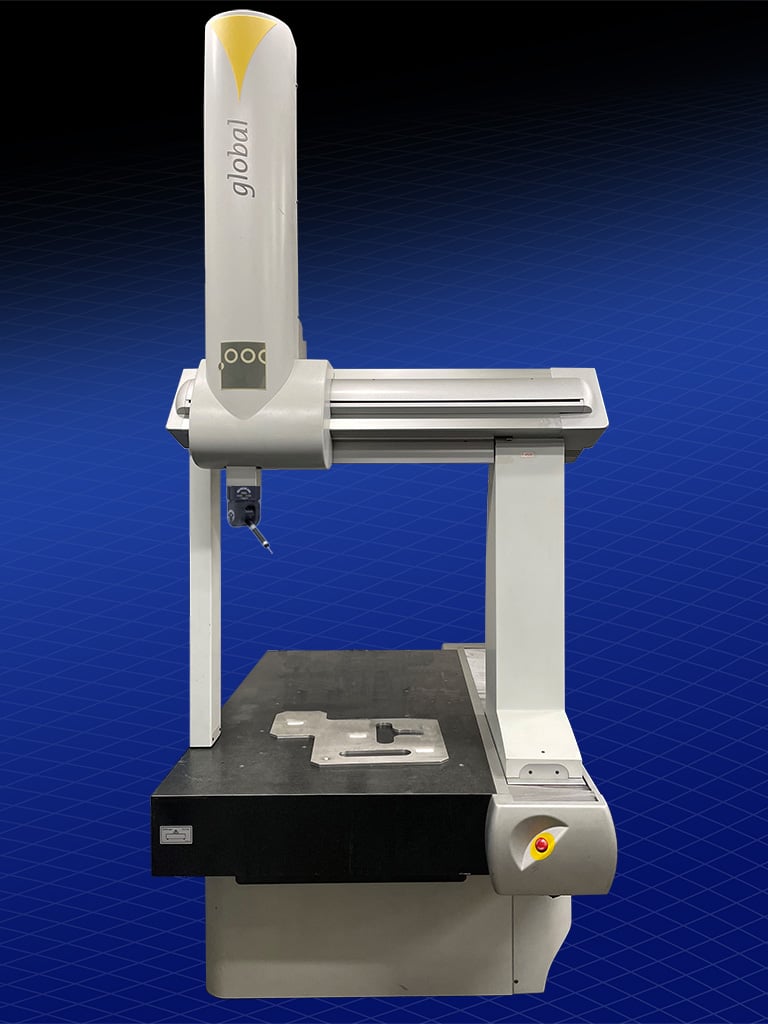

B&S Global-7.10.7
| Measuring Range | 700mm x 1000mm x 700mm |
| Typical Probing | 5-Axis PH20 / PH10-TP20 |
| Controller | Renishaw UCC |
| Software | CMM-Manager or MODUS |
| Bearing Type | Air |
| Notes | Flexible mid size machine - perfect for 5-Axis PH20 |

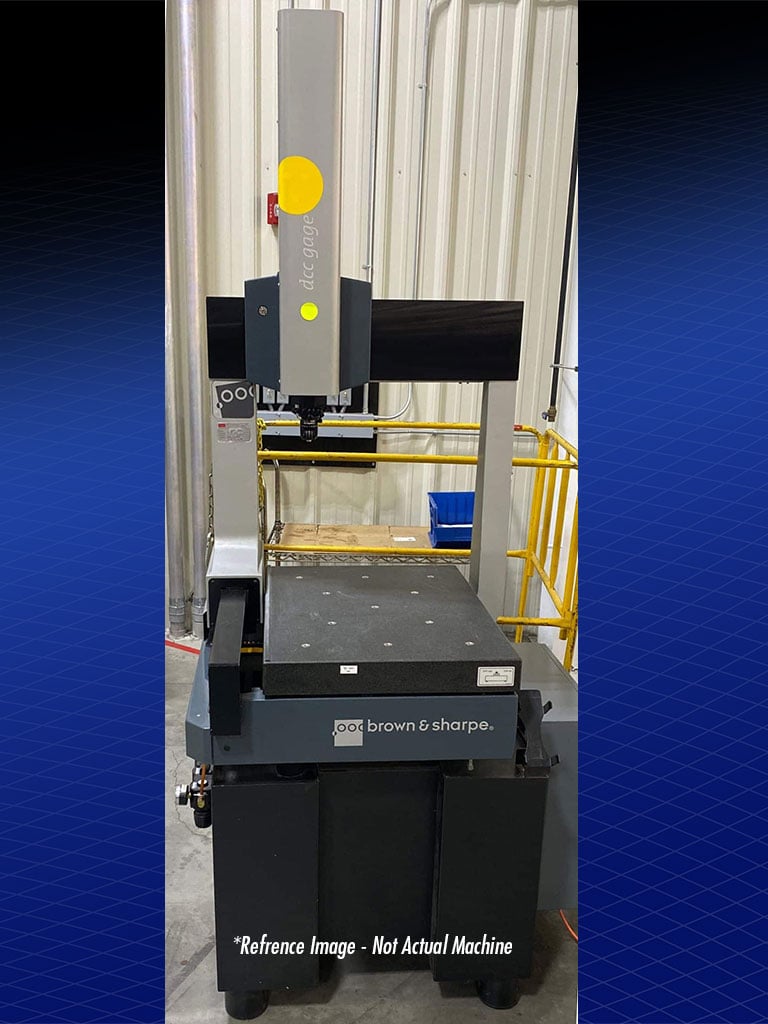
B&S DCC Gage 4.5.4
| Measuring Range | 400mm x 500mm x 400mm |
| Typical Probing | PH10-TP20 / MH20i |
| Controller | Renishaw UCC |
| Software | CMM-Manager or MODUS |
| Bearing Type | Air |
| Notes | Small Platform. This is the right size for an entry level DCC CMM |

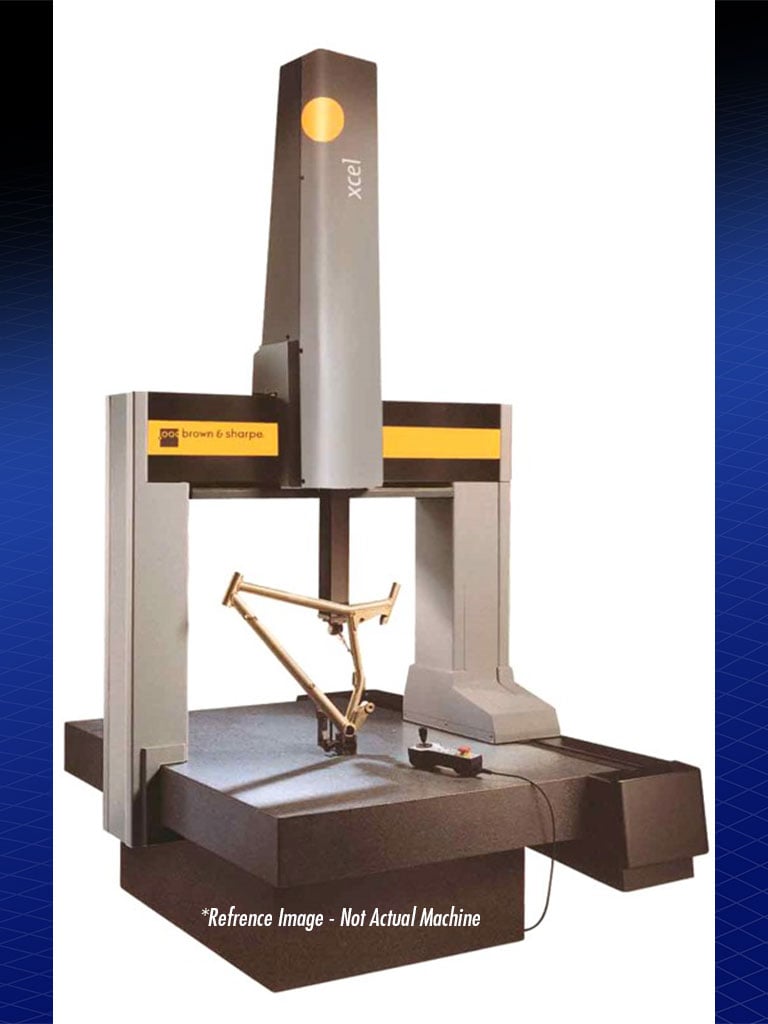
B&S Xcel 7.10.7
| Measuring Range | 700mm x 1000mm x 700mm |
| Typical Probing | 5-Axis PH20 / PH10-TP20 |
| Controller | Renishaw UCC |
| Software | CMM-Manager or MODUS |
| Bearing Type | Air |
| Notes | Classic B&S chassis upgraded with all new Renishaw scales & controllers |

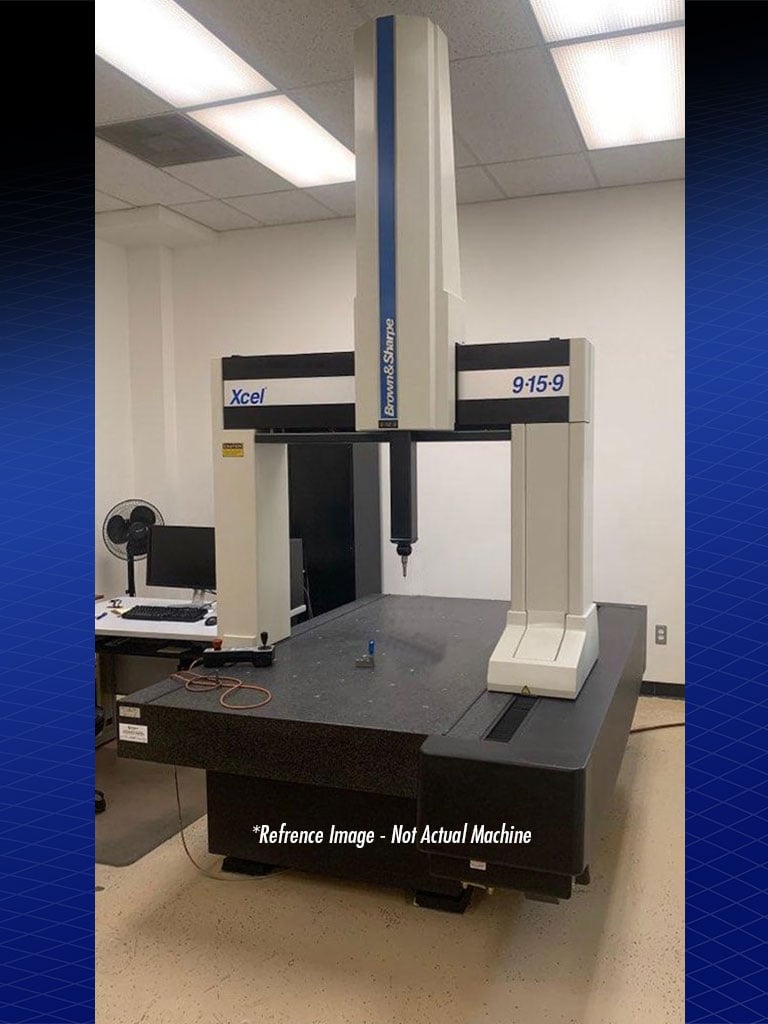
B&S Xcel 9.15.9
| Measuring Range | 900mm x 1500mm x 900mm |
| Typical Probing | 5-Axis PH20 / PH10-TP20 |
| Controller | Renishaw UCC |
| Software | CMM-Manager or MODUS |
| Bearing Type | Air |
| Notes | Classic B&S chassis upgraded with all new Renishaw scales & controllers |

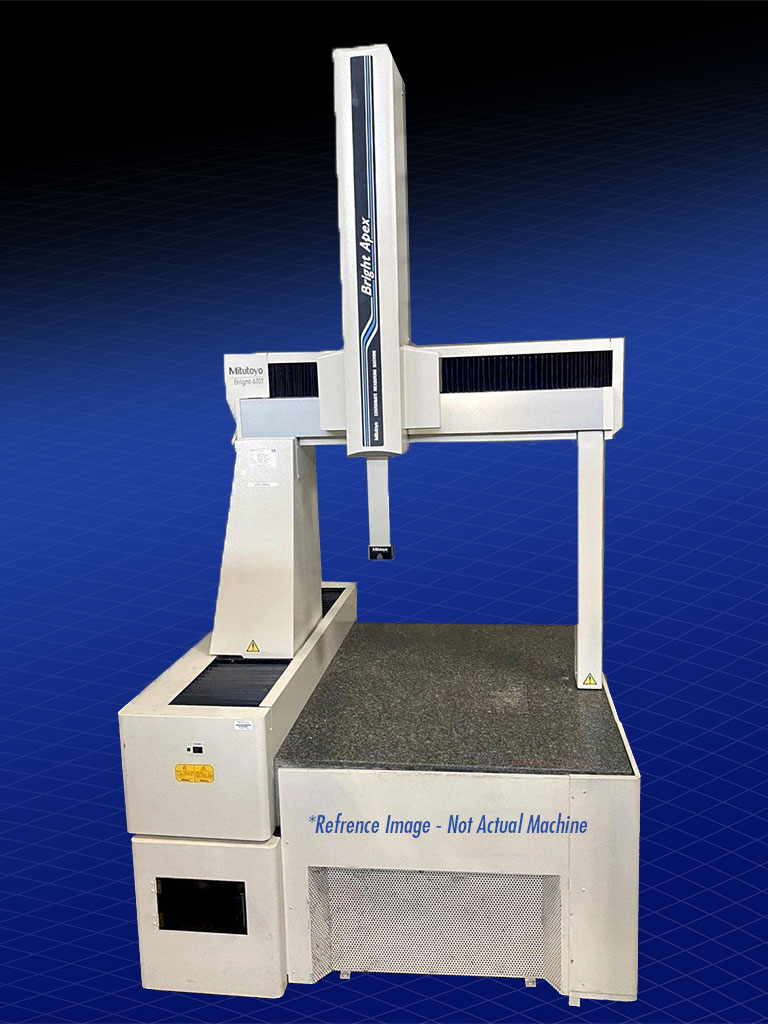
Mitutoyo Bright Apex 7.7.6
| Measuring Range | 700mm x 700mm x 600mm |
| Typical Probing | 5-Axis PH20 / PH10-TP20 |
| Controller | Renishaw UCC |
| Software | CMM-Manager or MODUS |
| Bearing Type | Air |
| Notes | Premium Mitutoyo mid-size frame - perfect for 5-Axis PH20 |

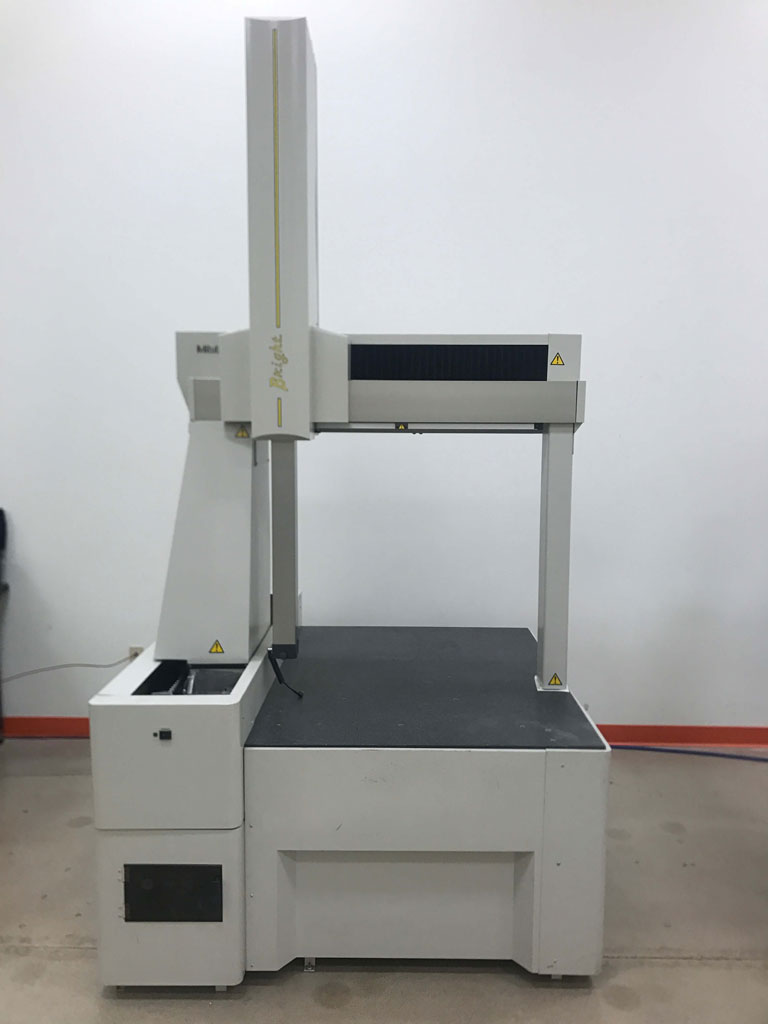
Mitutoyo Bright 7.7.6
| Measuring Range | 700mm x 700mm x 600mm |
| Typical Probing | 5-Axis PH20 / PH10-TP20 |
| Controller | Renishaw UCC |
| Software | CMM-Manager or MODUS |
| Bearing Type | Air |
| Notes | Mitutoyo mid-size frame - perfect for 5-Axis PH20 |

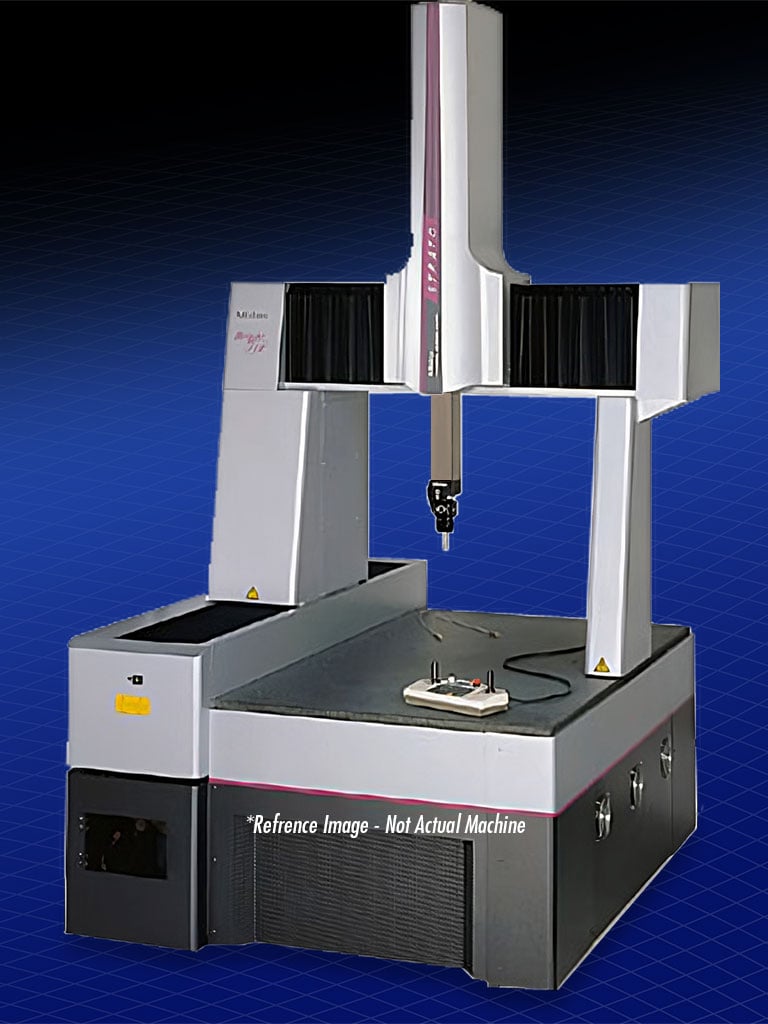
Mitutoyo Strato 7.10.6
| Measuring Range | 700mm x 1000mm x 600mm |
| Typical Probing | 5-Axis PH20 / PH10-SP25 |
| Controller | Renishaw UCC |
| Software | CMM-Manager or MODUS |
| Bearing Type | Air |
| Notes | High Accuracy Mitutoyo mid-size frame - makes a good scanning system |

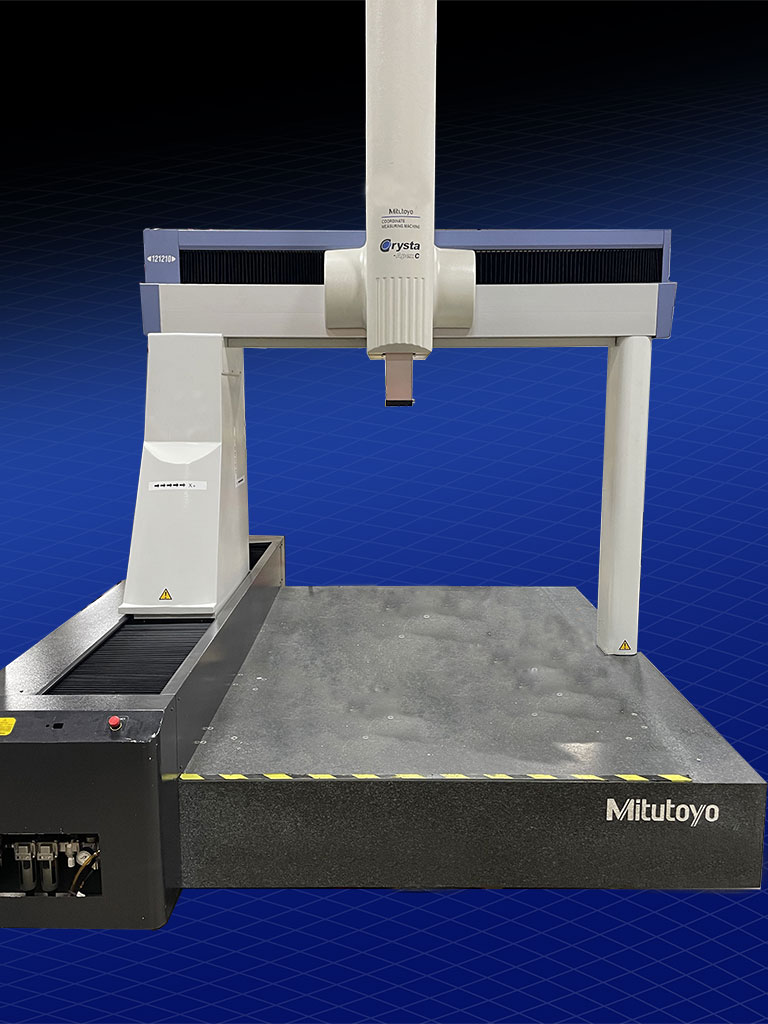
Mitutoyo Crysta 12.12.10
| Measuring Range | 1200mm x 1200mm x 1000mm |
| Typical Probing | 5-Axis PH20 / PH10-SP25 / REVO |
| Controller | Renishaw UCC |
| Software | CMM-Manager or MODUS |
| Bearing Type | Air |
| Notes | Large platform machine. Will make a good scanning system. |

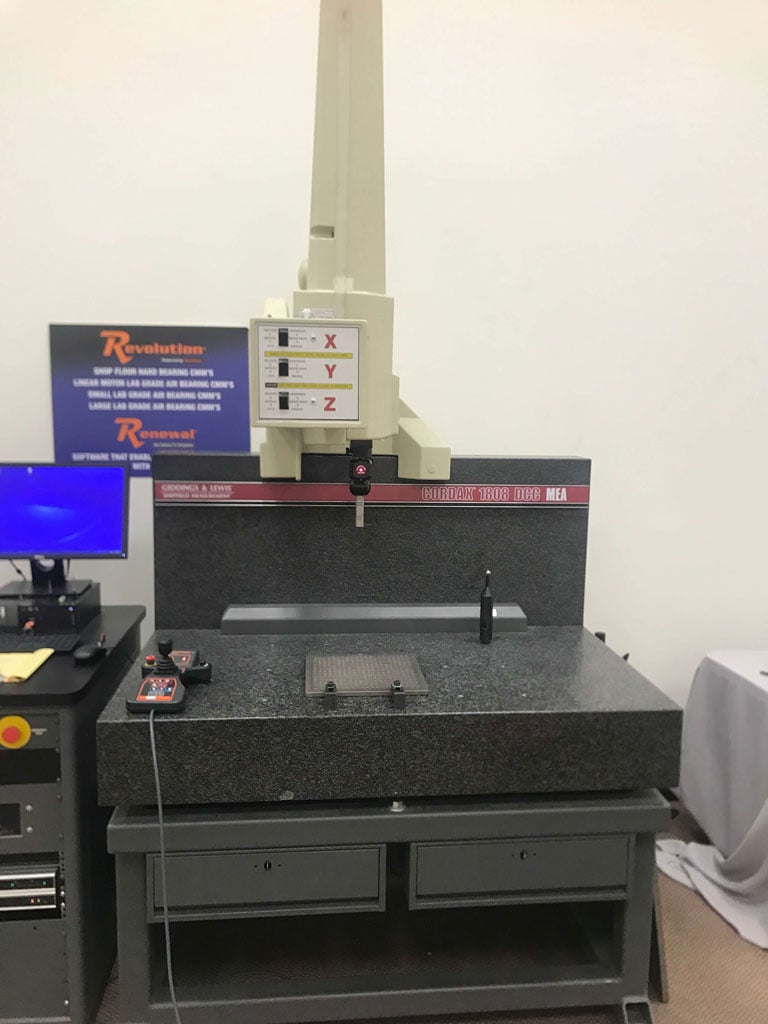
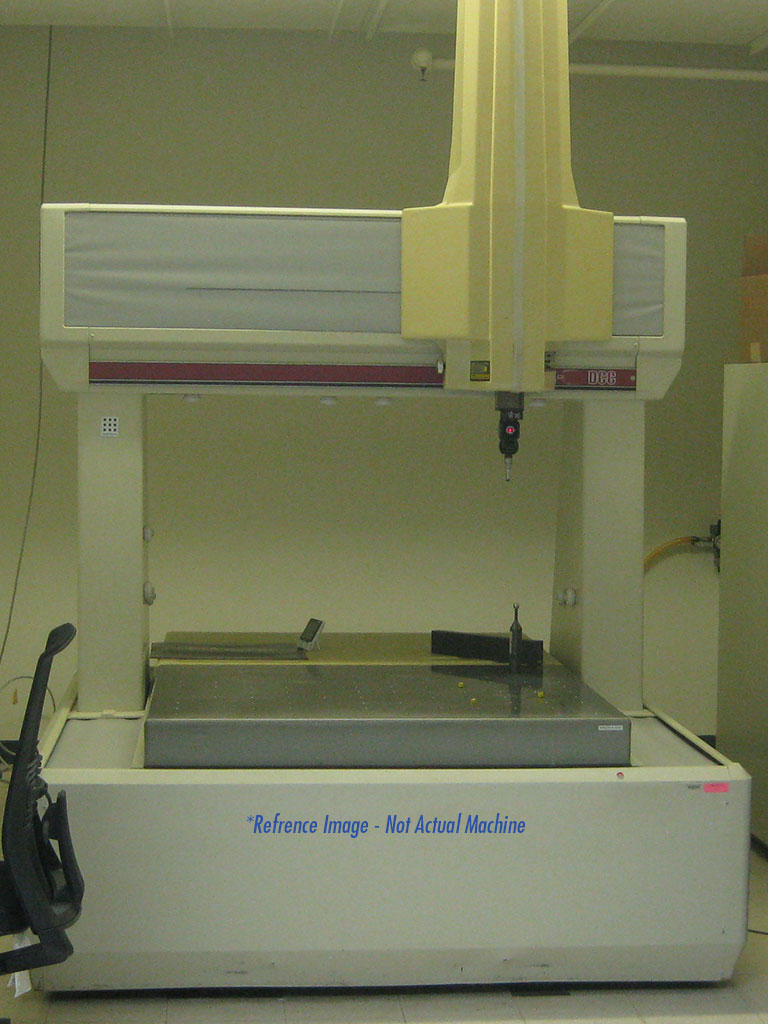
Sheffield Cordax 1808 DCC
| Measuring Range | 700mm x 600mm x 500mm |
| Typical Probing | 5-Axis PH20 / PH10-TP20 |
| Controller | Renishaw UCC |
| Software | CMM-Manager or MODUS |
| Bearing Type | Air |
| Notes | Classic Sheffield Cordax CMM - Open bed for easy part loading |

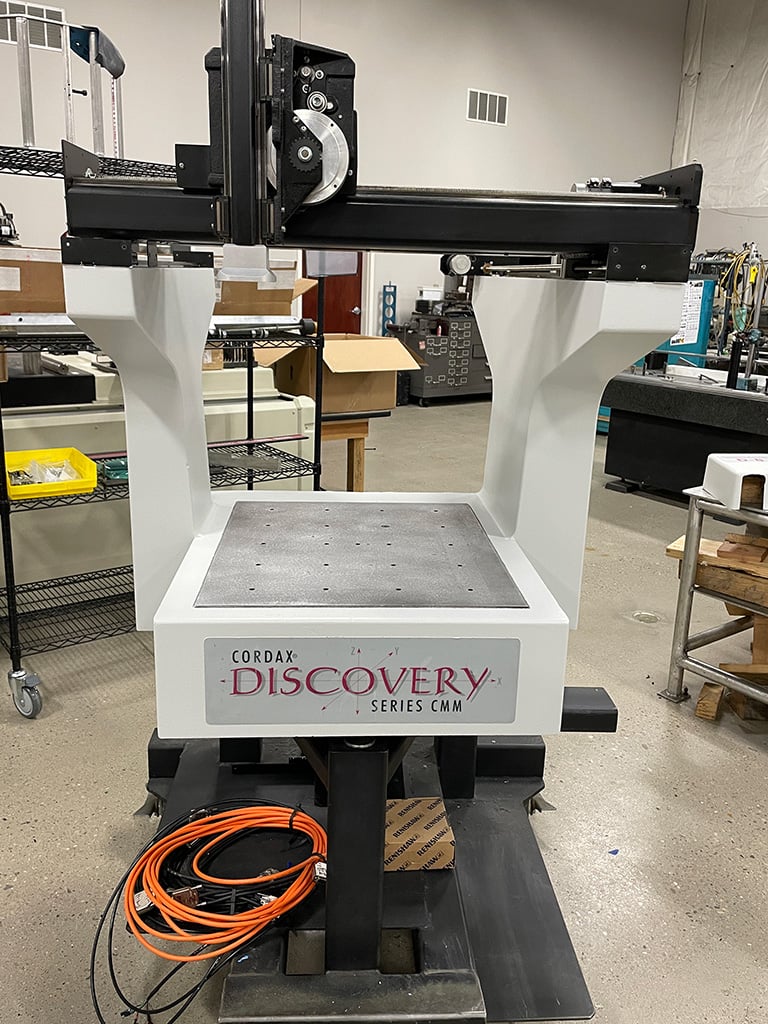
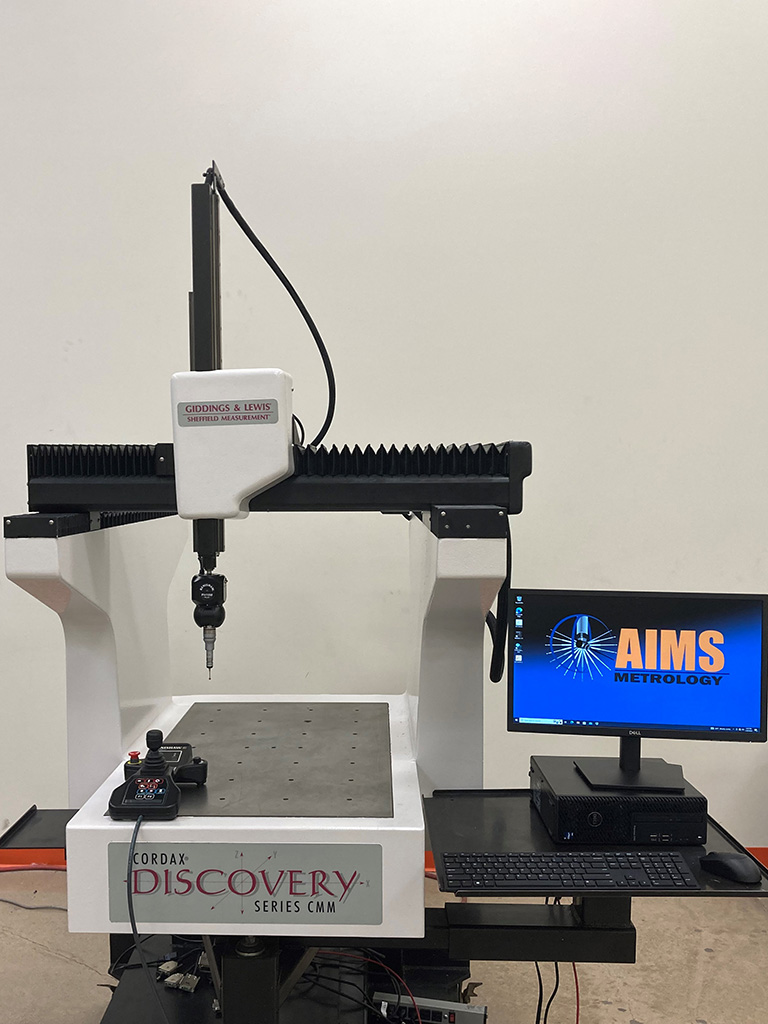
Sheffield Discovery D8
| Measuring Range | 500mm x 600mm x 400mm |
| Typical Probing | 5-Axis PH20 / PH10-TP20 |
| Controller | Renishaw UCC |
| Software | CMM-Manager or MODUS |
| Bearing Type | Hard |
| Notes | This is a mechanical bearing machine, ideal for the shop floor. |

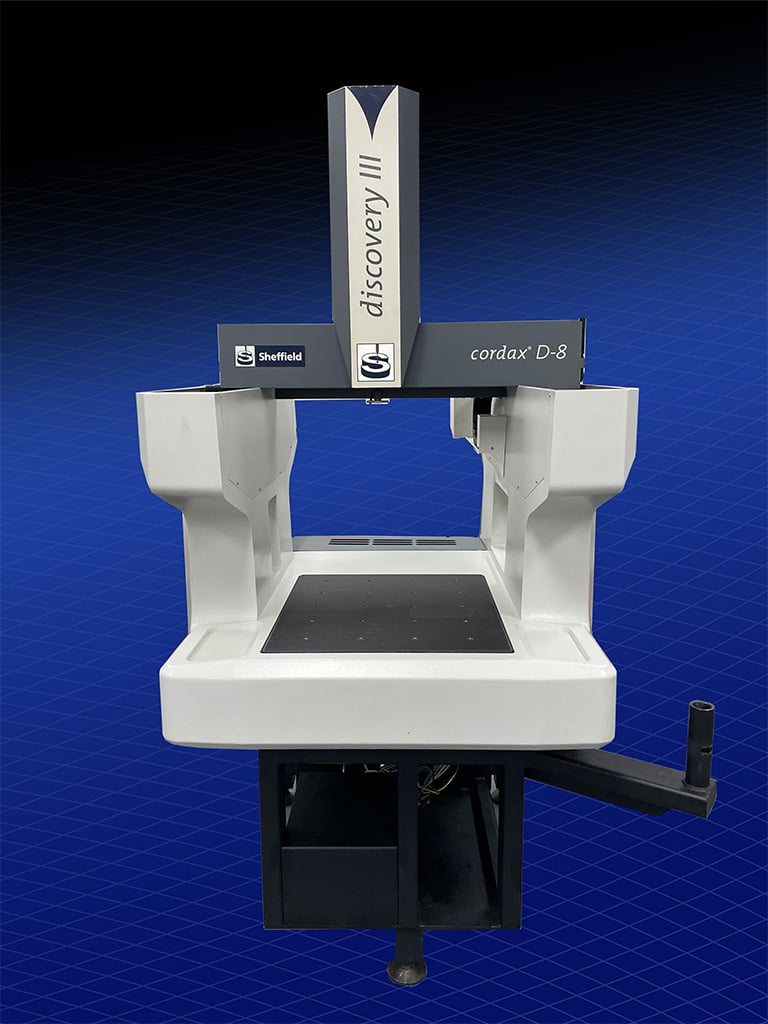
Sheffield Discovery D8 III
| Measuring Range | 500mm x 600mm x 400mm |
| Typical Probing | 5-Axis PH20 / PH10-TP20 |
| Controller | Renishaw UCC |
| Software | CMM-Manager or MODUS |
| Bearing Type | Hard |
| Notes | This is a mechanical bearing machine, ideal for the shop floor. |

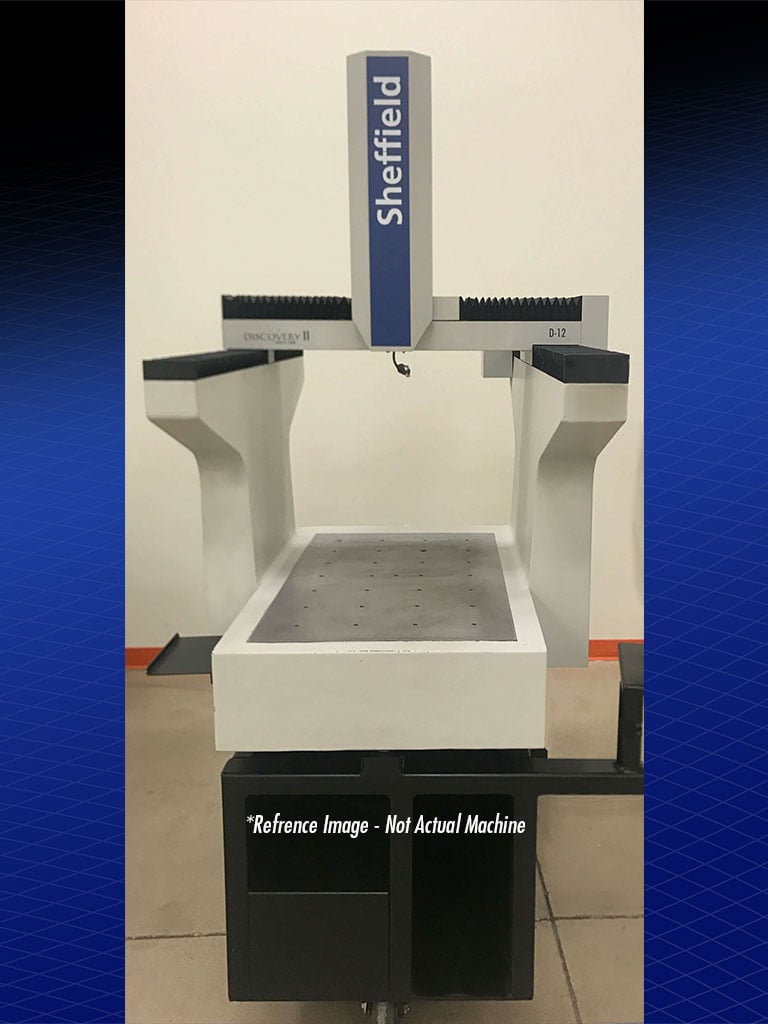
Sheffield Discovery D12
| Measuring Range | 500mm x 900mm x 400mm |
| Typical Probing | 5-Axis PH20 / PH10-TP20 |
| Controller | Renishaw UCC |
| Software | CMM-Manager or MODUS |
| Bearing Type | Hard |
| Notes | This is a mechanical bearing machine, ideal for the shop floor. |

Sheffield Discovery D12 II
| Measuring Range | 500mm x 900mm x 400mm |
| Typical Probing | 5-Axis PH20 / PH10-TP20 |
| Controller | Renishaw UCC |
| Software | CMM-Manager or MODUS |
| Bearing Type | Hard |
| Notes | This is a mechanical bearing machine, ideal for the shop floor. |

Sheffield RS-30
| Measuring Range | 1000mm x 750mm x 625mm |
| Typical Probing | 5-Axis PH20 / PH10-TP20 |
| Controller | Renishaw UCC |
| Software | CMM-Manager or MODUS |
| Bearing Type | Air |
| Notes | Sheffield Apollo center drive - Solid mid-size machine |

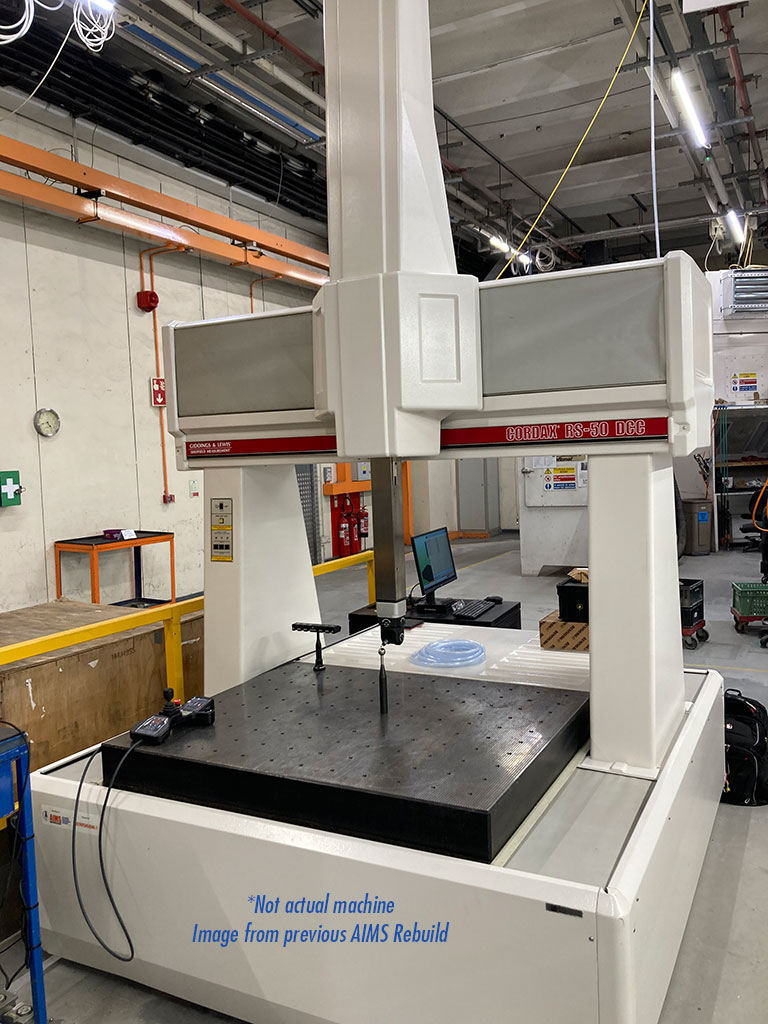
Sheffield Apollo RS-50
| Measuring Range | 1200mm x 1000mm x 750mm |
| Typical Probing | 5-Axis PH20/ PH10-TP20 / REVO |
| Controller | Renishaw UCC |
| Software | CMM-Manager or MODUS |
| Bearing Type | Air |
| Notes | Sheffield Apollo center drive - Solid machine with 1 meter of range |

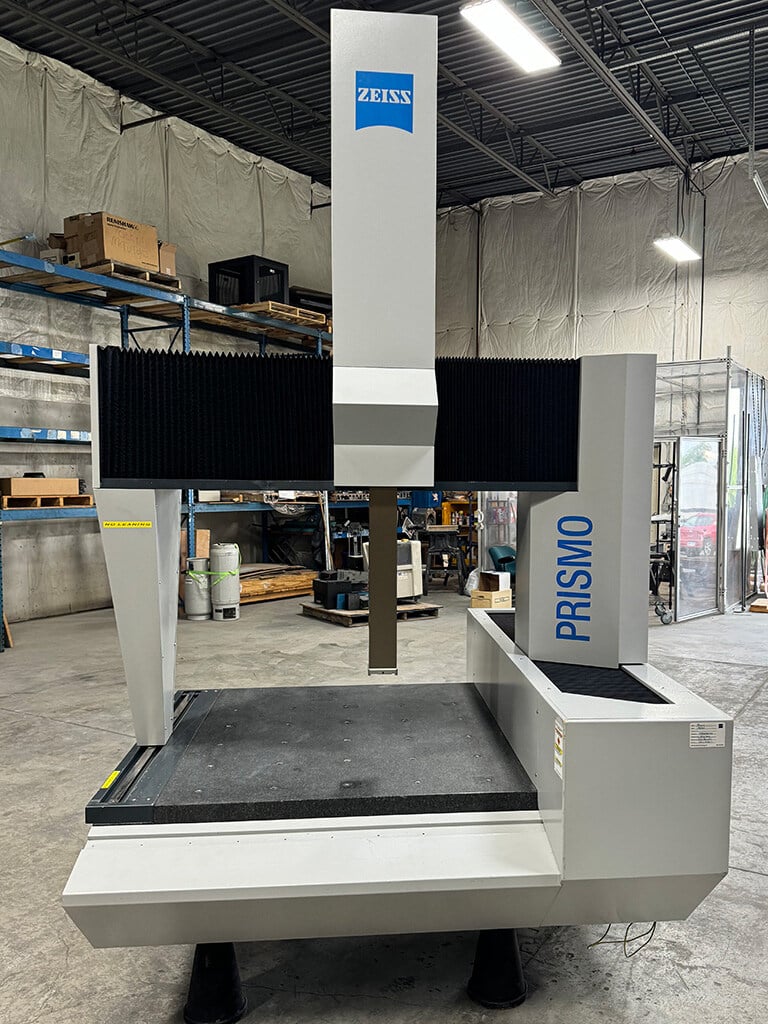
Zeiss Prismo 9.9.7
| Measuring Range | 900mm x 900mm x 700mm |
| Typical Probing | 5-Axis PH20 / PH10-SP-25 / REVO |
| Controller | Renishaw UCC |
| Software | CMM-Manager or MODUS |
| Bearing Type | Air |
| Notes | Zeiss High Accuracy Frame - makes a good scanning system |
Why Choose AIMS for Your rebuilt CMM?
At AIMS, we understand the complex nature of CMMs, and our team is familiar with the nuances of a quality rebuild. When purchasing a used machine at an auction, on the internet, or even from a used CNC machine dealer, you might receive a CMM in subpar condition. Buying used metrology equipment from AIMS offers benefits you can't find at these retailers, such as:
- A comprehensive inventory of diverse CMMs. AIMS carries an extensive selection of pre-owned, professionally graded equipment from leading CMM manufacturers, and our team of metrology specialists will assist you in finding the optimal machine for your operation. We also provide delivery and installation services for added convenience.
- Professionally inspected and fully rebuilt equipment. We refurbish our pre-owned CMMs to ensure they'll have the same level of performance as a newly manufactured machine. You can enjoy the peace of mind that comes from knowing your equipment is certified, having passed all operational tests and inspections.
- Cost-efficiency. Purchasing new metrology equipment is costly and can be unaffordable for some manufacturers. Sourcing a pre-owned expertly refurbished CMM from AIMS as a certified OEM metrology equipment provider is a cost-effective solution that doesn't sacrifice proficiency or accuracy.
- Warranties. All rebuilt CMMs from AIMS are backed by a factory warranty on the machine itself, as well as an extended warranty on new Renishaw parts.
Behind the Scenes of AIMS Rebuild Process
Our end-to-end CMM rebuilding process involves several steps to ensure the finished product performs like a new machine and adheres to your unique specifications.
1. Initial Inspection With Full Disassembly
Our rebuild process begins when the AIMS team makes a thorough inspection of a machine, including all bearing surfaces and guideways, on our shop floor. We clean and check bearings, replace the air lines, and evaluate part condition to ensure the machine's foundation is mechanically solid.
2. AIMS Factory Experts Perform the Rebuild
Our CMM experts complete the rebuild process in compliance with industry standards and best practices, paying great attention to every detail so that your machine will meet the highest possible quality standards. As an example, AIMS uses Renishaw UCC controllers, scales, and servo amplifiers exclusively, components that can outperform the originals. As we do with new CMMs, we also tune and laser-map the rebuilt equipment in our factory.
3. Final CMM Parts and Software Customization
Our factory has the ability to tailor CMM equipment to your organization's unique requirements. Our team will retrofit most CMM systems with one of two Renishaw components: the REVO 5-axis scanning system or the PH20 5-axis touch probe system. We also offer Renishaw's full probe lineup, including the motorized PH10, SP-25, TP-20, and TP-200, as well as manually indexed probes for those looking for an economical system without sacrificing quality, like the MH20i.
Our systems are available with your choice of software, including Renishaw's Modus CMM Inspection software, QX-Soft's CMM-Manager, or Verisurf 's CMM Programming and Inspection Suite. Additionally, like our new systems, our rebuilt options come with new Windows PCs to offer you complete, turnkey solutions.
4. Safe CMM Arrival and Professional Installation
For a finished rebuild, we secure the machine properly and carefully package it in a crate for safe shipment. Unlike many other companies, we only utilize air-ride trucks for transporting our machinery, providing maximum protection and eliminating the risk of costs you might otherwise incur with another supplier if proper packaging and shipping practices are overlooked for your precision instrument.
5. Installation Support and Beyond
Unlike rebuilt CMMs from other suppliers, pre-owned systems from AIMS come as a complete package with a factory warranty. Our calibration and training capabilities add to our repertoire of end-to-end services that fit all your CMM needs.
How can I buy a used CMM for sale from AIMS?
AIMS' goal is to be a one-stop-shop original equipment manufacturer (OEM) and CMM supply business, which is why we carry a variety of used and refurbished CMM models and brands. Our equipment is fully compatible with Renishaw technology, and we carefully inspect and professionally refurbish our equipment to perform like new, giving you great value for your investment. You can trust AIMS to offer the most reliable CMMs, competitive pricing, superior customer service, and end-to-end services tailored to your needs.
To purchase a CMM from AIMS, start by requesting a quote today.
Get a Pricing on a Machine
Our inventory is always changing so check back often. Also if you don't see a size you need, reach out to us and we can usually acquire a CMM you are interested in.
Our current inventory includes:
-
Used Brown & Sharpe CMM 4.5.4, Xcel 7.10.7, Xcel 9.15.9
-
Used Hexagon Global 7.10.7, Leitz 7.10.6 CMM
-
Used Mitutoyo Crysta 12.12.10 CMM, Bright 7.7.6 CMM, Bright Apex 7.7.6 CMM, Strato 7.10.6 CMM
-
Used Sheffield Discovery D12 CMM, Discovery D8 CMM, Sheffield Apollo RS30, RS50
-
Used Zeiss Prismo 9.9.7 CMM
